The release of git revolutionized the source control. The release of GitHub revolutionized doing it socially. Today it's easier to contribute to an open source project than ever before.
Here's the step-by-step guide to contributing to an open source project on GitHub.
Choose a project to contribute to
There are tons to choose from! But you're probably going to be contributing to a project that you use as a dependency for your own projects.
Maybe you've found a bug. Or maybe you wished it did X. That's a good indication that you're ready to contribute to the project!
Is the project active?
There's no point in writing features for a project that isn't being maintained. Otherwise your contribution will sit there unmerged for eternity. There's a few ways to get a feel of how active the project is.
Find the project repo on GitHub and check out the last commit date.
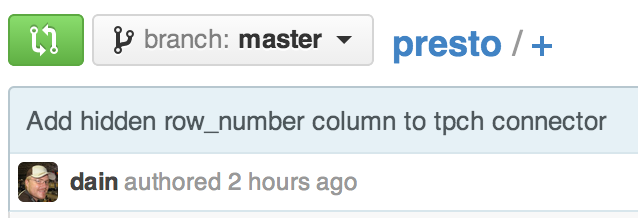
Hopefully it will be fairly recent. Check out when the last few commits were to get a better feel of how active it is.
Now look at the issues and pull requests.
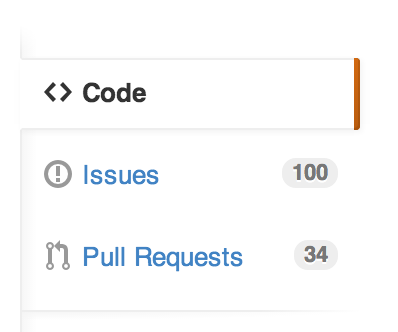
If there are issues and pull requests that haven't been touched by the project maintainer in months, then that's a red flag that your first contribution to open source could be ignored on this project.
Read up on the contributing rules
If you feel like the project is active enough to contribute to, look for the contribution guidelines. Sometimes this will be a section in the README file. Sometimes there will be a CONTRIBUTING file that contains all the project-specific guidelines for contributing.
Most of the guidelines will more-or-less say the same thing. This post covers the most common scenarios, but sometimes there will be custom prerequisites. For example, all the open source projects that Facebook has on GitHub require that you must sign their CLA before they will accept your pull request.
Submit a feature proposal
Once you're well versed in the project maintainer's contribution expectations, it's usually good practice to submit a proposal for the new feature you'd like to contribute.
Note: Proposals are only necessary for new features. If you are contributing a bug fix, you can skip this step.
To submit a new feature proposal, create a new issue and prefix the title with "[Proposal]".
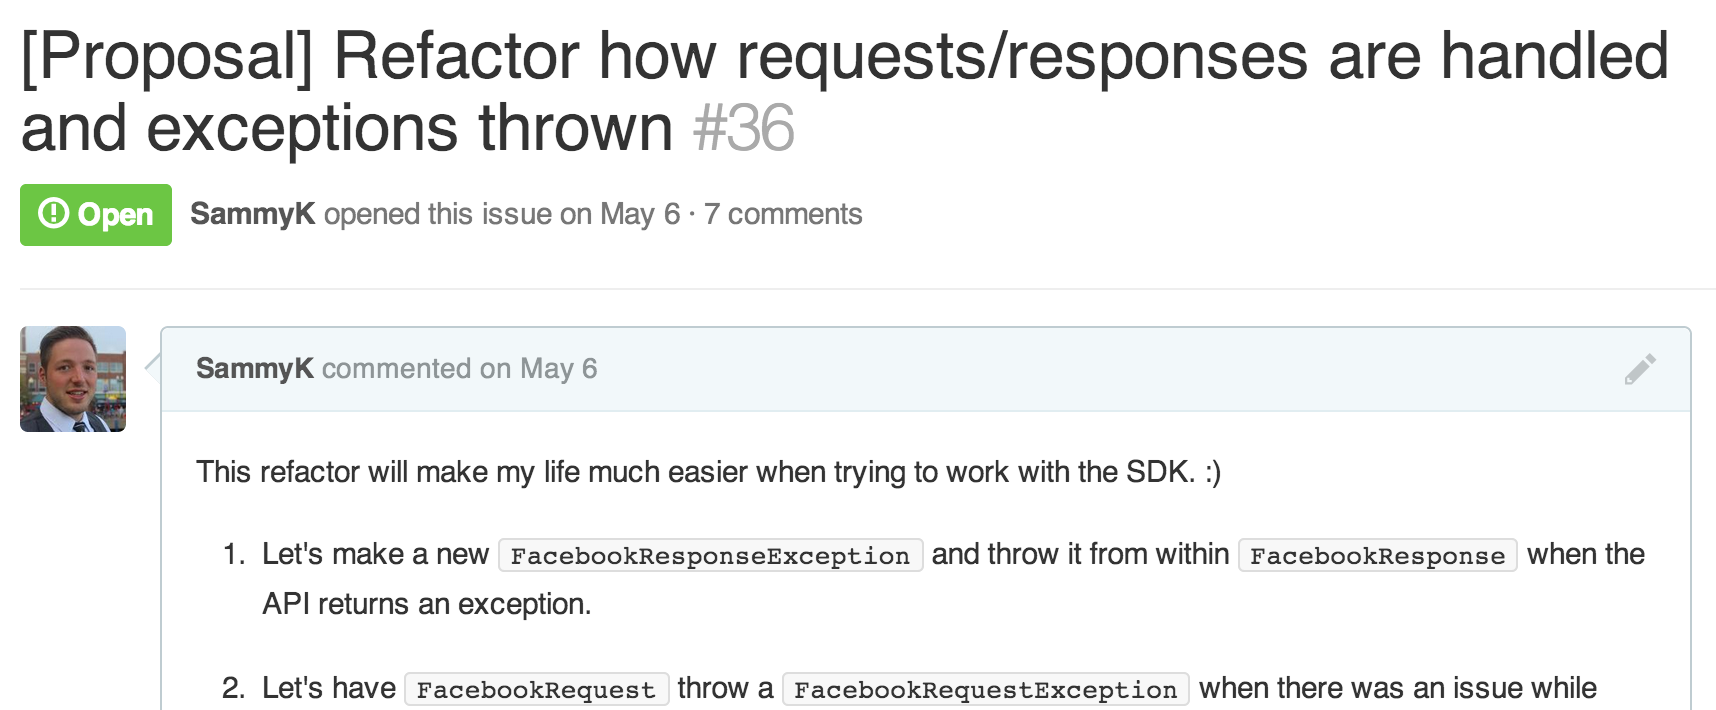
Provide a detailed description of your feature with some code samples of how you propose interfacing with the new feature.
Then wait until you get feedback from one of the project's maintainers and the rest of the contributor community. The process usually goes one of three ways.
- Sometimes you'll get a thumbs up without any further discussion.
- Sometimes you'll go back and forth for months before you're given a green light.
- Other times the proposal will flat out get denied. But don't let that discourage you. Sometimes the project maintainers have a very specific direction they want their project to go in and your proposal may not fit in that direction.
Fork the repo & clone it
Now that you have a green light to contribute something specific, you can start coding!
First we need to fork the repo by clicking the "Fork" button in the upper right hand corner of the repo landing page.

Choose an account to fork the repo to and GitHub will do the magic of forking.
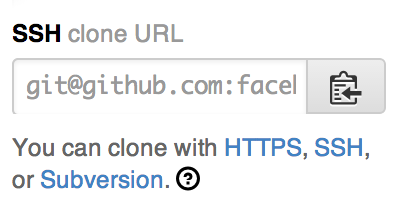
After forking is complete, we need to clone the fork to our local machine. You can copy the clone URL from the "clone URL" box in the right column. I recommend changing this to SSH if it's not already.
In the terminal of your choice on your local machine, cd into a directory that you want to hold your source code. I have a forks directory containing all the forks that I contribute to.
Note: You don't have to create a sub directory with the project name since that will be done for you when you clone the project.
Now we can clone the project by typing git clone and the clone URL you copied.
$ git clone git@github.com:vendor/project.git
And boom! You should have a copy of the project on your machine.
Note: If you get an error about SSH keys, make sure you have already set up your GitHub SSH keys.
Make a new branch
It's a good practice to isolate all bugs/features/tweaks into their own branches. You'll usually be branching from the master branch but sometimes you'll need to branch from a specific version branch so that the maintainer can trickle the merge down into other versions.
$ git checkout -b my-new-feature
The git checkout command lets you switch between branches and the -b lets git know you want to create a new branch. And my-new-feature is the name of the new branch.
Code it up! But take your shoes off.
Now that you're all set up in your new branch, you're ready to start coding your new feature.
Code styles
Just as you're sometimes required to take your shoes off when entering a host's house, it's necessary to observe the "customs" of the coding style of the project. Are they using tabs or spaces? If spaces, how many per indent? When do curly brackets go on a new line? What about naming conventions? And when to use camel case vs snake case?
If you take care to maintain the code style of the project, the fewer problems you'll run into when you submit your pull request.
Write tests!
Hopefully the project you've forked is tested. If not, then maybe that should be your next proposal! But if there are tests, make sure you write new tests to cover any new features you've added.
And of course, before you commit your changes make sure all the tests are passing!
Commit & push the new branch to your fork on GitHub
Your new feature is added, the tests are added and the entire test suite is returning green. Yay! Let's stage all the files to be committed.
To get a list of files that have changed since the last commit you can run:
$ git status
This can be helpful to see if you accidentally modified a file you didn't mean to before you commit your changes.
Stage all the files with git add, commit the staged files and push them to your fork on GitHub.
$ git add .
$ git commit -m 'A detailed description of what this commit is all about'
$ git push origin my-new-feature
Submit a pull request (PR)
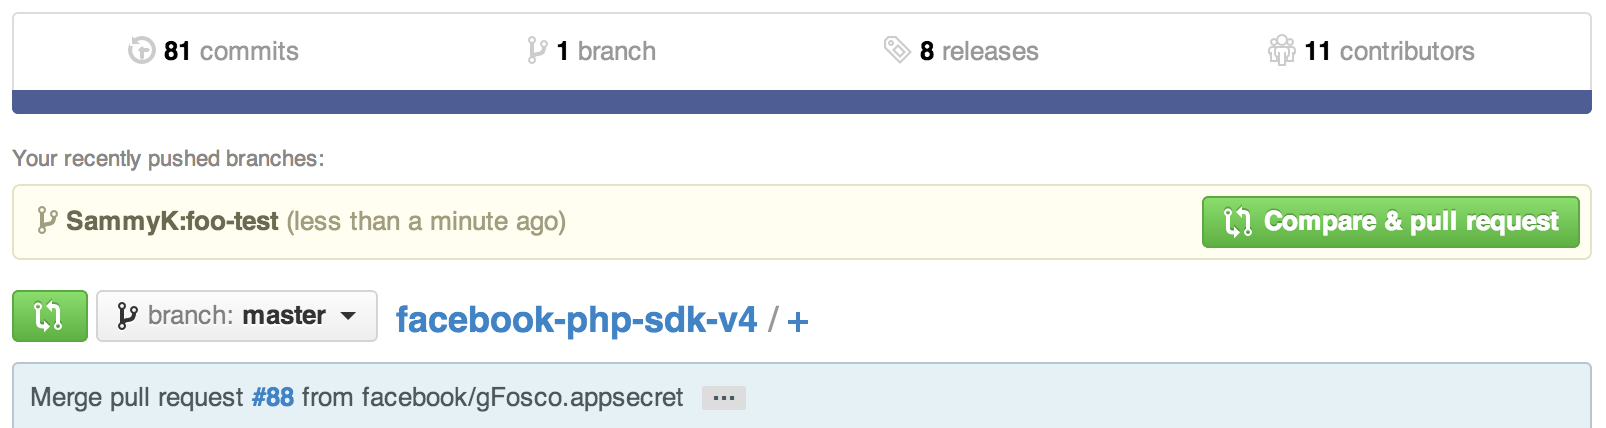
Now when you visit your fork on GitHub you'll see a big green button asking you to submit your new branch as a pull request.
Submit a message with details about what you changed and any caveats.
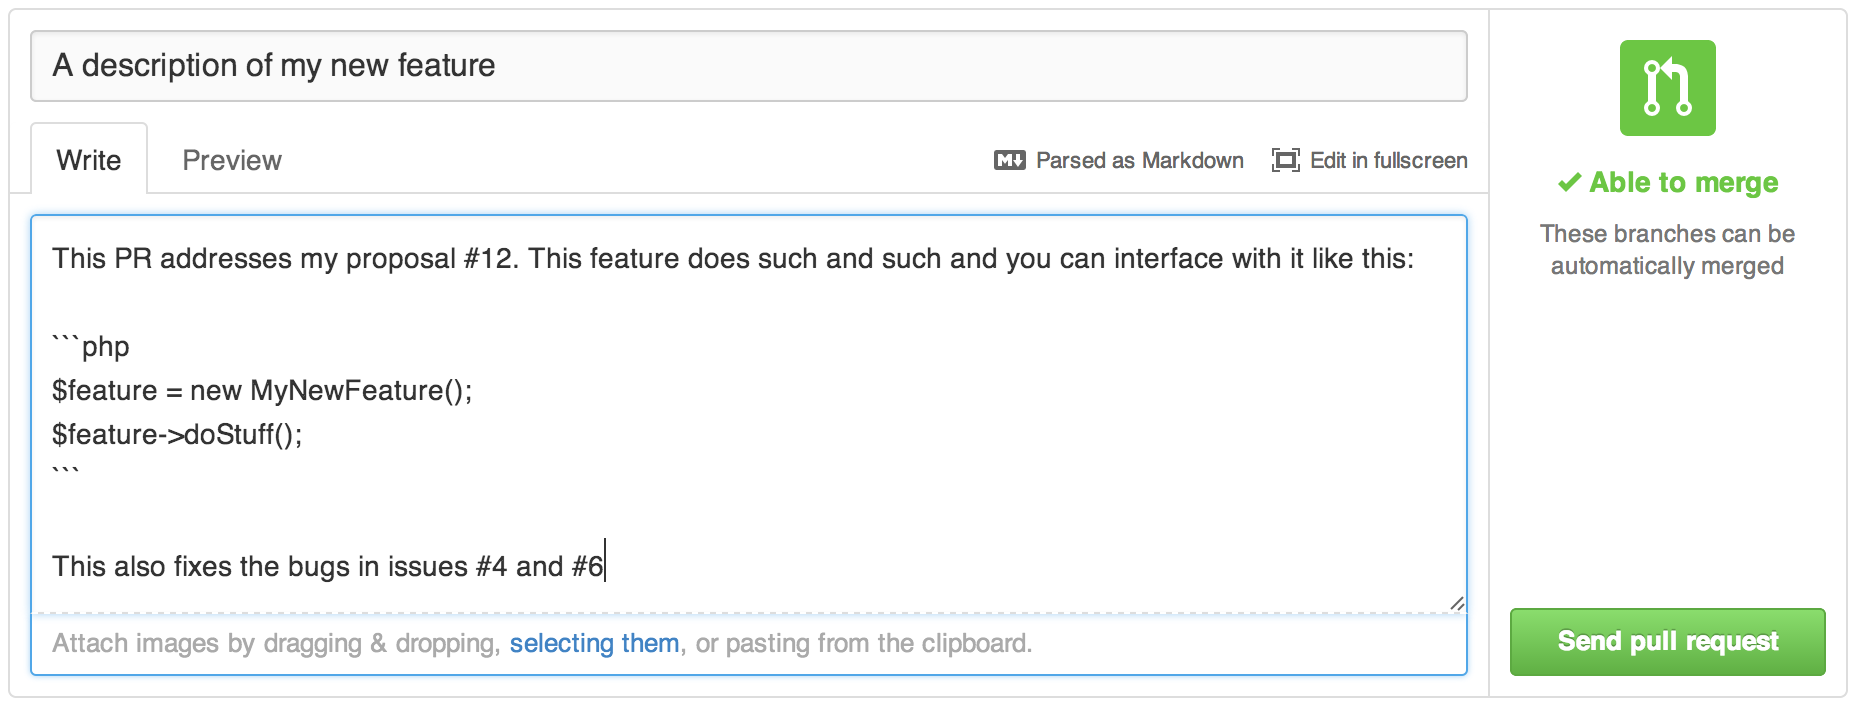
Make sure to reference the original proposal and any other issues this pull request fixes or addresses. To reference an issue, simply type the issue number prefixed with the # character and GitHub will do the linking and referencing for you.
Get feedback and make tweaks
Now your code is displayed bare for all to see. Which means someone will probably comment on how or why you did certain things. Some comments might be on the code style to enforce the code style of the project.
Whatever the change may be, sometimes you'll need to make some tweaks to your PR before it can be merged. All you have to do it make the changes, stage the files, commit the changes, and push to your fork just like before.
Squash your commits into one
Now you have two or more commits on your PR. You can list the commits on your branch that have been made since the last commit on origin/master.
$ git log --oneline origin/master..my-new-feature
6c34529 My second commit with a tweak
889f452 My first commit
As a common practice, it's recommended that you squash all your commits into one commit for each PR you submit. In fact, some projects require it. You can squash the commits into one using git rebase.
$ git rebase -i origin/master
This will pull up the default editor which is set to vi by default. If you don't know how to use vi, you really should learn how! But you can change the default editor to something you're comfortable with like pico.
$ git config --global core.editor pico
Your editor should show you the last commits since origin/master.
pick 889f452 My first commit
pick 6c34529 My second commit with a tweak

# Rebase 16ad982..6c34529 onto 16ad982
#
# Commands:
#  p, pick = use commit
#  r, reword = use commit, but edit the commit message
#  e, edit = use commit, but stop for amending
#  s, squash = use commit, but meld into previous commit
#  f, fixup = like "squash", but discard this commit's log message
#  x, exec = run command (the rest of the line) using shell
#
# If you remove a line here THAT COMMIT WILL BE LOST.
# However, if you remove everything, the rebase will be aborted.
#
The commits are listed ascendingly by date. Leave the first line alone and change the lines below it from "pick" to "squash" or just "s" to squash them up into the first commit.
Once you save and exit you should be taken to another editor screen where you can edit the commit message.
# This is a combination of 2 commits.
# The first commit's message is:

My first commit

# This is the 2nd commit message:

My second commit with a tweak

# Please enter the commit message for your changes. Lines starting
# with '#' will be ignored, and an empty message aborts the commit.
# Not currently on any branch.
# Changes to be committed:
#   (use "git reset HEAD <file>..." to unstage)
#
#       modified:   README.md
#       new file:   index.php
#
The lines that start with a # will be ignored. So I usually just add a # to all the commit messages except for the first one and save and exit.
Now you should see just one commit on your branch with a new hash of the commit object.
$ git log --oneline origin/master..my-new-feature
e7e1381 My first commit
Now you're ready to push your squashed commit back to your fork.
$ git push origin my-new-feature
But if you do this, you'll get a response about a fast-forward commit and it won't push your new squashed commit. So you have to force the push by adding a + before the branch name.
$ git push origin +my-new-feature
Now you've got just one commit associated with your PR.
Delete your branch after a merge
Your PR gets merged into the project and your new feature/bug fix will get used by happy unicorns everywhere. Yay!
Now it's safe to do a little cleanup. You can delete your local and remote branches. First make sure you don't have the target branch checked out.
$ git checkout master
Delete the branch remotely.
$ git push origin :my-new-feature
Delete the branch locally.
$ git branch -D my-new-feature
Pull in upstream changes
Finally you'll need to update your fork with any commits that have been made to the original repo. These should include your changes!
If you haven't already added a remote alias for the original repo you forked from, you can add it with git remote add. We'll call the alias upstream.
git remote add upstream git@github.com:SomeVendor/SomeProject.git
Once you do that you can always refer to the original repo as upstream. Let's pull in the changes that have been made on the original upstream repo.
$ git checkout master
$ git fetch upstream
This only pulls in the changes but doesn't merge them into your master branch. So you'll need to merge the fetched changes into the master branch.
$ git merge upstream/master
Now you're all synced up with the original repo! I also like to push all the changes to my fork on GitHub to keep everything in sync.
$ git push origin master
Some helpful aliases
You may have noticed that you're doing quite a bit of typing in the terminal for all this. So I set up some aliases in my bash profile to save me some keystrokes.
alias gl='git log --oneline' # List of commits
alias ga='git add' # Stage a file
alias gaa='git add .' # Stage all the modified files recursively
alias gs='git status' # List all files that have been changed or staged
alias gc='git commit -m' # Commit with message
alias gco='git checkout' # Checkout a branch
alias gpo='git push origin' # Push a branch to remote
alias gnb='git checkout -b' # Make new branch and check it out
alias gdb='git branch -D' # Delete a local branch
alias glb='git branch -a' # List branches
alias gfu='git fetch upstream' # Fetch the upstream changes
alias gmum='git merge upstream/master' # Merge upstream changes to master branch
alias gsquash='git rebase -i origin/master' # Squash commits since last origin/master commit
Now I can do stuff like this:
$ gs
$ gaa
$ gc 'My first commit'
$ gpo master
Now go forth and fork the world
If this guide helped you, feel free to leave feedback in the comments! I'd love to see what you guys are contributing to out there!